Introduction : How to Fix Internal Wall Dampness Permanently: Causes, Solutions and Repair Tips
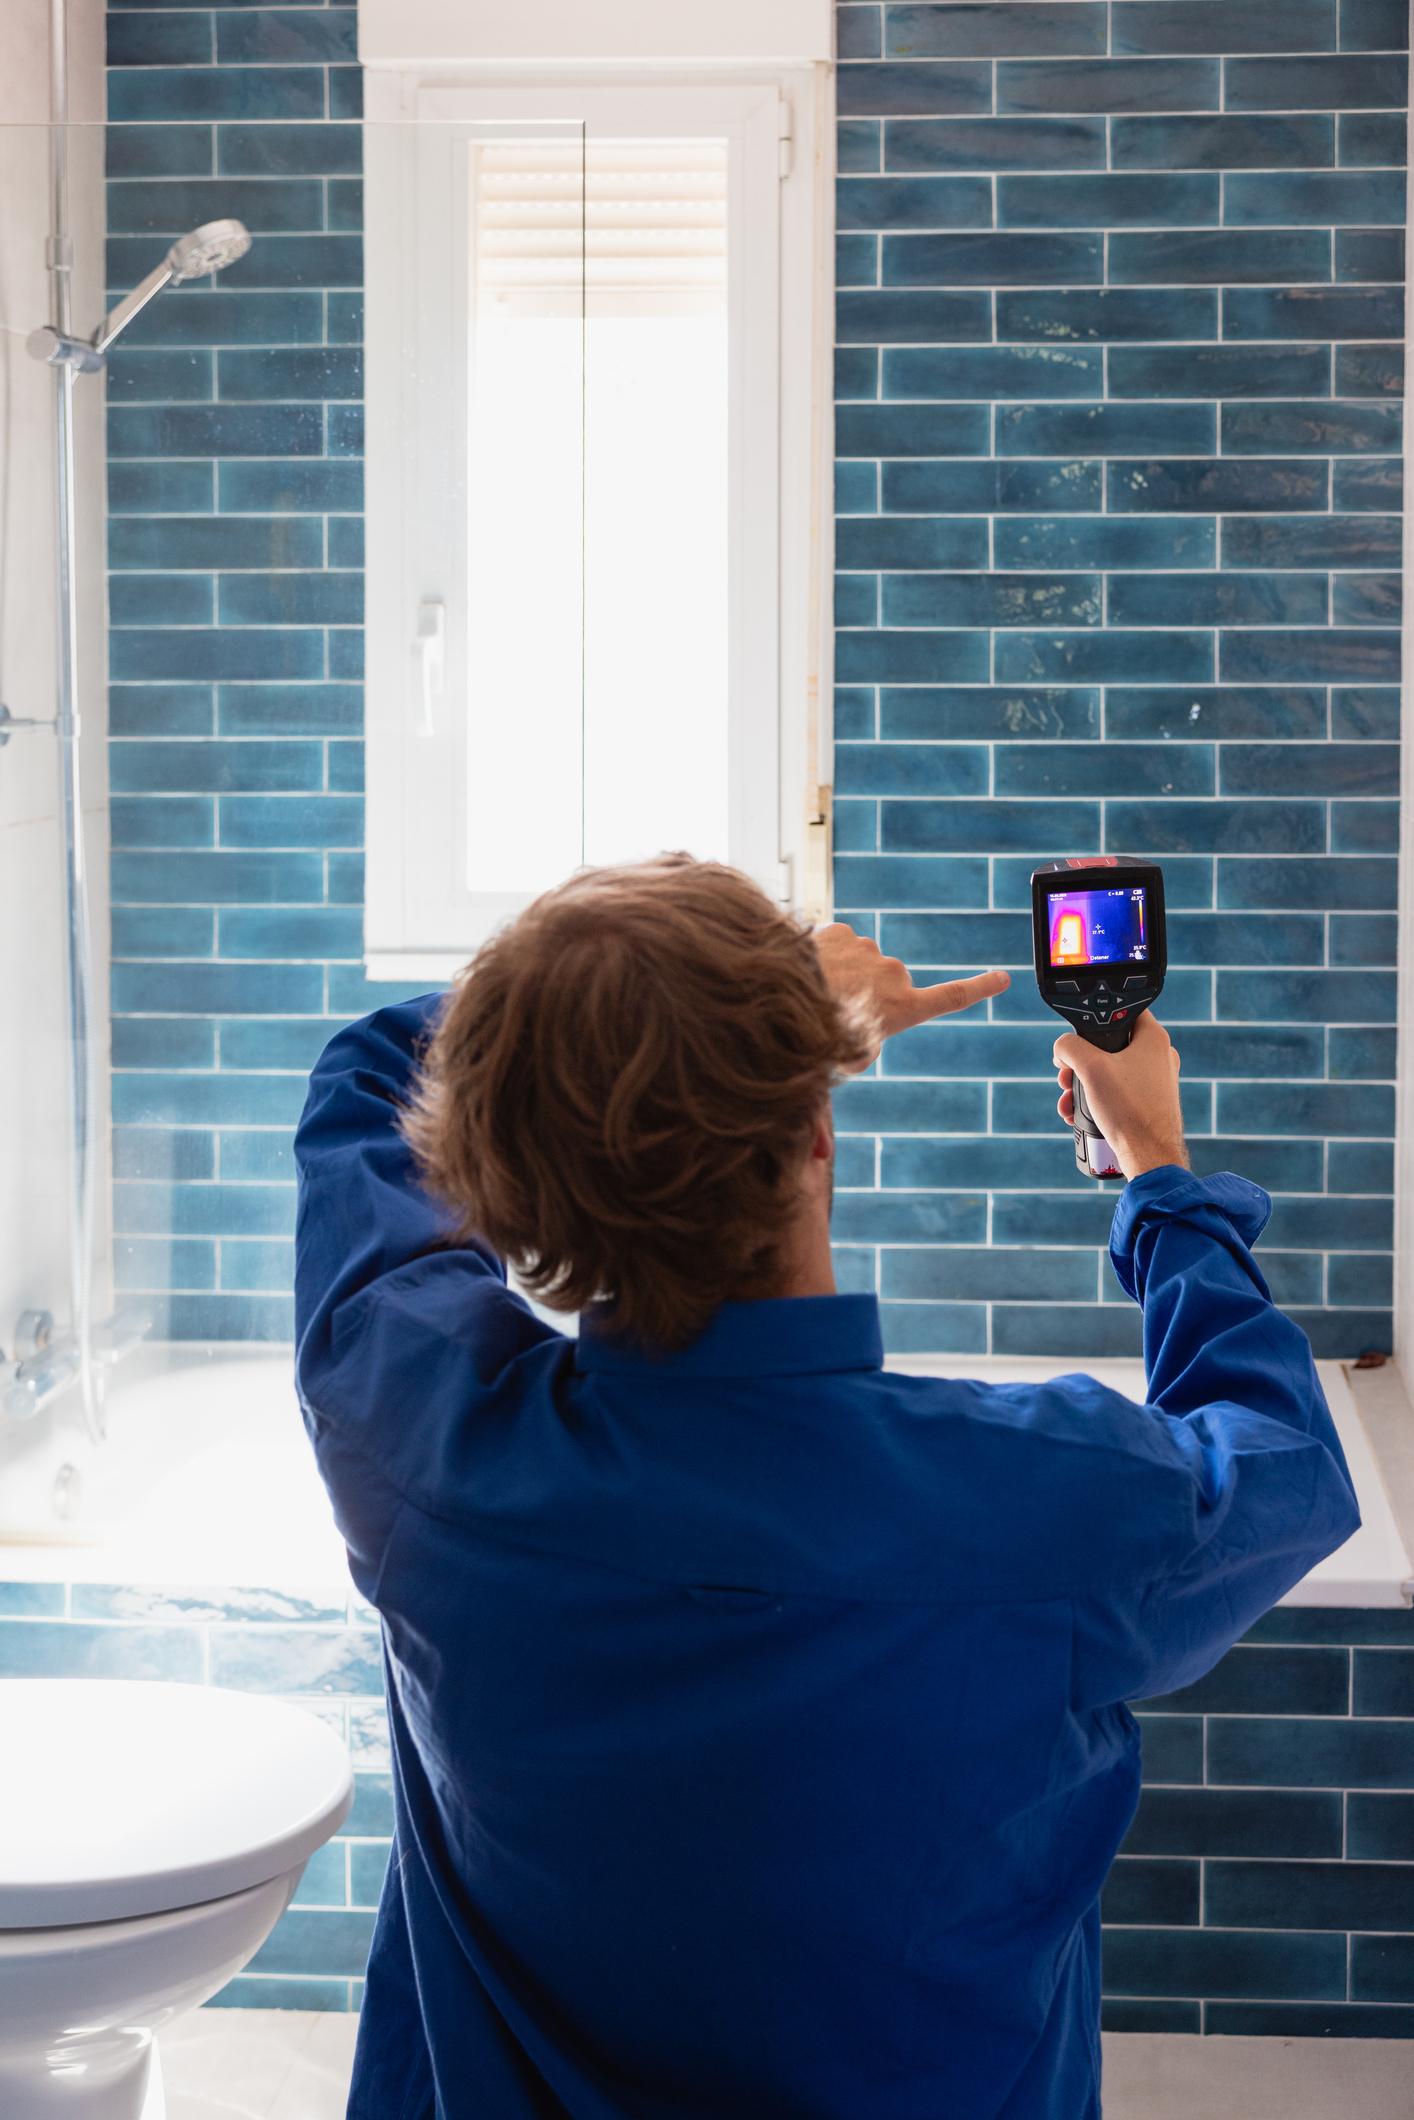
Internal wall dampness is a common problem in Indian homes, particularly during the monsoon. Damp patches, bubbling paint, peeling plaster and white powdery deposits can make a room look unattractive and may indicate an underlying moisture problem.
Simply repainting the affected wall may hide the symptoms temporarily, but the dampness can return if the source of moisture remains untreated.
The key to fixing internal wall dampness is to identify the source of moisture and choose a treatment that addresses the actual cause. In existing bathrooms and finished interiors, professional thermal scanning can also help investigate suspected leakage before unnecessary demolition begins.
In this guide, Design Within explains the common causes of damp walls, thermal scanning for leakage detection, suitable waterproofing solutions and practical repair precautions.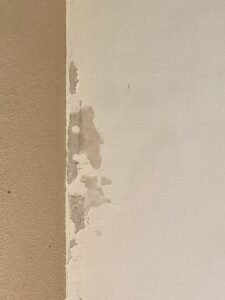
1. What Causes Internal Wall Dampness?
Before choosing a treatment, it is important to understand why your wall is becoming damp.
A. Water Seepage from External Walls
Rainwater can enter through exterior cracks, damaged plaster, poorly sealed windows or deteriorated exterior coatings. This is particularly relevant for walls exposed to heavy monsoon rainfall.
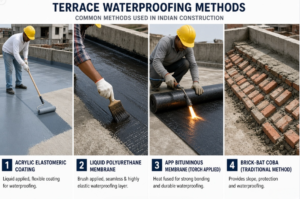
Solution: Repair exterior cracks and defective joints, and apply a compatible external waterproofing system where necessary.
B. Plumbing Leakage
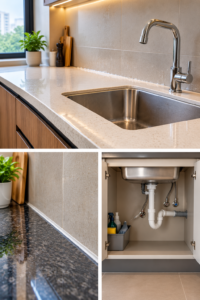
Leaking concealed pipes, bathroom connections or drainage lines can cause damp patches on internal walls. The problem may worsen gradually even when the leak is not immediately visible.
Solution: Locate and repair the plumbing defect before restoring the plaster and paint.
C. Rising Dampness
Moisture can travel upwards through porous masonry from the ground when an effective damp-proof barrier is absent or defective. This may cause dampness and salt deposits near the bottom of a wall.
Solution: Have the source and extent of moisture assessed. Depending on the construction, treatment may involve correcting ground moisture conditions, repairing defective damp-proofing or using a suitable specialist system.
D. Condensation
Moist indoor air can condense on cold wall surfaces, especially in poorly ventilated rooms, bathrooms and spaces with limited sunlight.
Solution: Improve ventilation, manage indoor humidity and address cold surfaces where practical. Waterproofing coatings alone may not resolve condensation.
E. Damaged Plaster and Wall Finishes
Cracked plaster, deteriorated exterior finishes and poorly sealed construction joints can allow water to penetrate the wall assembly.
Solution: Repair the underlying defect and replace loose or damaged plaster after the wall has been appropriately dried.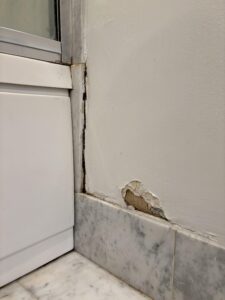
2. How to Identify Dampness on Your Walls
Look for these common warning signs:
-
Peeling or bubbling paint: Moisture can weaken the bond between paint and the wall surface.
-
Dark or discoloured patches: These may indicate moisture entering from a pipe, external wall or another source.
-
White powdery deposits: Known as efflorescence, these form when dissolved salts migrate to the surface and crystallise as moisture evaporates.
-
Flaking plaster: Persistent moisture can damage plaster and other wall finishes.
-
Musty odour or visible mould: These can indicate excess moisture and require appropriate investigation.
-
Dampness near the floor: This may suggest rising damp, plumbing leakage or moisture entering through adjoining construction.
These signs help identify a potential problem, but appearance alone cannot always establish the exact cause. Professional investigation may be necessary when the source is unclear.
3. Thermal Scanning for Leakage and Dampness Detection
One of the challenges in an existing home is identifying the source of leakage without unnecessarily damaging finished surfaces.
For example, a bathroom may already have tiles, sanitary fittings, waterproofing layers and completed wall finishes. If a ceiling below the bathroom develops damp patches, breaking tiles immediately without investigating the cause can lead to avoidable expense.
Thermal scanning is one diagnostic option that can help professionals investigate suspected leakage and moisture-affected areas.
How does thermal scanning work?
A professional team uses a thermal imaging camera, sometimes referred to as a thermal scanner, to detect differences in surface temperature.
Moisture can influence surface temperatures through evaporation, heat transfer and other effects. Thermal images can therefore reveal patterns that may help an experienced technician identify areas requiring further investigation.
The professional may combine thermal imaging with moisture-meter readings, plumbing inspections or other tests to assess the likely source of the problem.
When is thermal scanning useful?
Thermal scanning may be particularly useful in situations such as:
-
Existing bathrooms: Investigating suspected leakage when the bathroom is already tiled and finished.
-
Ceiling leakage below a bathroom: Examining moisture patterns that may help identify the affected area.
-
Concealed plumbing: Investigating suspected leaks around water-supply lines or plumbing connections.
-
Internal wall dampness: Assessing patterns that may help distinguish localised moisture from a broader dampness problem.
-
Recurring leakage: Investigating damp patches that return despite previous repairs.
Can thermal scanning detect the exact leakage point?
Not in every case. Thermal imaging identifies temperature patterns rather than directly seeing water behind a wall or beneath tiles. Insulation, ventilation, sunlight, plumbing conditions and other factors can affect the results.
A trained professional should interpret the thermal images and use additional tests where needed to confirm the likely source.
Why consider thermal scanning before breaking bathroom tiles?
If your bathroom is already completed and leakage appears in the ceiling below or on an adjoining wall, professional scanning may help narrow down the affected area before deciding on repairs.
This can support better-informed decisions about whether the problem requires plumbing repairs, localised work or more extensive waterproofing.
However, scanning does not guarantee that demolition can be avoided. If the waterproofing membrane has failed beneath the tiles, removing some or all of the affected finish may still be necessary.
4. How to Fix Internal Wall Dampness Permanently
The correct treatment depends on the source of moisture. Follow this general approach.
Step 1: Identify the Source
Check whether the affected wall faces the outdoors, adjoins a bathroom or kitchen, or is located near plumbing. Inspect nearby windows, exterior cracks and drainage arrangements.
For concealed leakage or recurring dampness, consider a professional assessment that may include thermal scanning.
Step 2: Stop the Water Entry
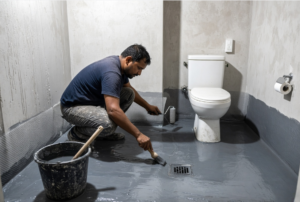
Repair leaking pipes, defective joints, exterior cracks or failed waterproofing. If condensation is responsible, improve ventilation and humidity control.
Step 3: Remove Damaged Finishes
Loose paint, deteriorated plaster and salt-contaminated material may need to be removed. The extent of removal depends on the severity of the damage.
Step 4: Allow the Wall to Dry
The wall must be sufficiently dry for the proposed repair materials and paint system. The required drying time depends on the wall construction, moisture level, ventilation and source of water.
Step 5: Repair and Refinish
Use a suitable repair mortar or plaster, followed by an appropriate primer and paint system once the substrate meets the product’s requirements.
Important: Applying putty, primer or fresh paint over a damp wall without addressing the cause is likely to result in recurring damage.
5. Which Waterproofing Solution Is Suitable for Damp Walls?
| Type of Problem | Suitable Approach |
|---|---|
| Rainwater entering through an exterior wall | Repair cracks and joints; assess a compatible exterior waterproofing coating. |
| Concealed plumbing leakage | Investigate the leak and repair the defective pipe or connection. |
| Rising damp near floor level | Investigate ground moisture and damp-proofing defects; seek a specialist assessment. |
| Condensation on cold walls | Improve ventilation and humidity control; assess insulation where appropriate. |
| White salt deposits and damaged plaster | Address the moisture source, remove deposits appropriately and repair the affected surface. |
| Leakage from an adjoining bathroom | Investigate plumbing, drain connections and the bathroom waterproofing system; consider thermal scanning as part of the assessment. |
There is no single waterproofing chemical that solves every type of dampness. Selecting the treatment without identifying the source can lead to unnecessary expenses.
6. Internal Wall Dampness Repair Cost in Pune
The cost of damp-wall treatment depends on the affected area, moisture source, accessibility and extent of repair.
Typical cost components may include:
-
Inspection and moisture assessment.
-
Thermal scanning or other diagnostic tests, if required.
-
Plumbing repairs or exterior crack treatment.
-
Removal of damaged plaster and paint.
-
Waterproofing products or specialist damp-proofing treatment.
-
Replastering, priming and repainting.
Thermal scanning may be charged separately or included in a professional inspection package. Confirm the scope, diagnostic methods and charges with the service provider before booking.
Minor surface repairs may be relatively inexpensive, while concealed plumbing work, extensive plaster replacement or rising-damp treatment can cost substantially more.
Rather than relying on a single per-square-foot rate, obtain an itemised quotation that separates diagnosis, moisture-source repairs and finishing work. This makes it easier to compare contractors and avoid paying for cosmetic work that does not solve the underlying problem.
7. Common Mistakes to Avoid
Avoid these mistakes when treating damp walls:
-
Repainting without finding the moisture source.
-
Applying interior waterproofing paint to conceal active leakage.
-
Ignoring plumbing leaks because the affected patch appears small.
-
Covering white salt deposits without addressing the moisture problem.
-
Replastering before the wall is sufficiently dry.
-
Assuming every damp patch is caused by rainwater.
-
Ignoring ventilation when condensation is the actual cause.
-
Breaking finished bathroom tiles before investigating whether diagnostic testing could help narrow down the leakage source.
Persistent dampness can damage wall finishes and create conditions that encourage mould growth. Address the source promptly rather than repeatedly repairing the visible surface.
Conclusion
Internal wall dampness is more than a paint problem. It may result from external rainwater seepage, plumbing defects, rising moisture or condensation, and each cause requires a different approach.
For homeowners in Pune, identifying the moisture source before starting repairs is especially important when preparing a home for the monsoon or planning an interior renovation.
For existing, fully finished bathrooms, professional thermal scanning can be a useful diagnostic step when investigating suspected concealed leakage. By helping identify areas that need further examination, it may support more targeted repair planning before any decision to remove tiles or finishes.
At Design Within, we believe that successful home renovation starts with addressing underlying construction issues before investing in decorative finishes. Proper diagnosis, suitable repair materials and appropriate drying can help reduce the risk of recurring dampness and protect the quality of your interiors.
At Design Within, we believe a beautiful interior should not only look good when it is completed — it should also perform well for years.
Before we dive into more details about designing your furniture, it might be helpful to estimate how much your interior design project could cost. Understanding your budget can help you make more informed decisions about what features to prioritize. To get a better idea, you can use our ‘interior design budget calculator’ budget calculator and start planning your dream home today.
Frequently Asked Questions
1. How can I stop dampness on an internal wall?
Identify and fix the moisture source first. Depending on the cause, this may involve plumbing repairs, exterior waterproofing, damp-proofing treatment or better ventilation. Repair and repaint the wall only after it is suitably dry.
2. Can thermal scanning detect bathroom leakage without breaking tiles?
Thermal scanning can help identify temperature patterns associated with suspected moisture and may narrow down areas requiring further investigation. It cannot guarantee the exact leakage point in every case, and additional tests may be needed.
3. Is thermal imaging useful for existing bathrooms?
Yes, it can be useful when investigating suspected concealed leakage in finished bathrooms, particularly when water appears on the ceiling below or adjoining walls. The results should be interpreted by a trained professional.
4. Can I paint directly over a damp wall?
It is not advisable. Moisture can cause paint to bubble, peel or discolour again. Resolve the underlying problem and follow the paint manufacturer’s drying and preparation requirements.
5. Why do white patches appear on damp walls?
White powdery deposits are often efflorescence, caused by soluble salts carried to the surface by moisture. Removing the deposits without controlling the moisture source may not prevent them from returning.
6. Does waterproofing paint permanently stop wall dampness?
Not in every situation. A suitable coating may help prevent rainwater penetration on compatible surfaces, but it will not repair leaking plumbing or necessarily resolve rising damp or condensation.
7. When should I call a professional for wall dampness?
Seek professional help if damp patches keep returning, plaster is deteriorating, mould is spreading, plumbing leakage is suspected or the moisture source is unclear. Persistent moisture near electrical fittings also warrants prompt attention and appropriate electrical safety precautions.
Website: https://designwithin.in/
Suggested CTA: Experiencing recurring wall dampness or suspected leakage in an already-finished bathroom? Contact Design Within to discuss your renovation requirements and the next steps for investigating the problem.
Disclaimer: The appropriate dampness treatment depends on the building construction, moisture source and site conditions. Thermal imaging is a diagnostic aid, not a guarantee of exact leak detection. Obtain a professional assessment for persistent or extensive dampness before selecting a waterproofing system.