Introduction : Bathroom Waterproofing Before Tiling: Process, Testing and Common Mistakes
Bathroom tiles may look waterproof, but the tiled surface alone does not protect the underlying structure from water. Moisture can pass through grout joints, cracks, pipe openings and poorly sealed corners. Without a suitable waterproofing system beneath the tiles, leakage can damage the ceiling below, cause damp patches and lead to expensive repairs.
For homeowners planning a new bathroom or renovation in Pune, bathroom waterproofing before tiling is an essential step that should not be overlooked.
1. Why Is Waterproofing Needed Before Tiling?
Bathrooms experience frequent water exposure from showers, washbasins and floor cleaning. Over time, water can penetrate gaps in the tile joints and reach the underlying screed or slab.
Proper waterproofing helps:
- Reduce the risk of water seepage into the slab and adjoining walls.
- Protect the ceiling and rooms below the bathroom.
- Reduce dampness, peeling paint and moisture-related damage.
- Protect the investment in tiles, sanitaryware and bathroom fittings.
- Minimise the possibility of removing finished tiles for future leakage repairs.
Waterproofing does not replace good plumbing, drainage or tile installation. These elements must work together.
2. Which Areas Need Waterproofing?
A bathroom waterproofing system should be designed around the actual wet areas and site conditions. Important locations include:
- Bathroom floor: The floor generally needs a continuous waterproofing layer with properly treated edges.
- Shower area: Walls exposed to regular shower spray may need waterproofing to the specified height.
- Wall-floor junctions: Corners and changes of plane require careful detailing.
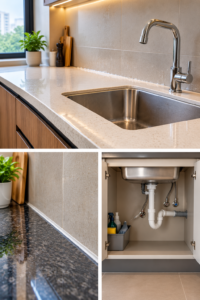
- Pipe penetrations: Plumbing openings must be sealed using compatible detailing products.
- Floor drain: The waterproofing layer must connect correctly with the drain assembly.
- Threshold and doorway: Water should not escape into adjoining rooms.
- Bathtub and concealed plumbing areas: These need suitable protection and access planning where applicable.
The exact waterproofing height and coverage depend on the system, design, local requirements and level of water exposure.
3. Bathroom Waterproofing Process Before Tiling
Step 1: Inspect the substrate
Check the concrete or screed for cracks, loose material, holes, contamination and uneven areas. Any existing plumbing leakage should be addressed before waterproofing begins.
Step 2: Prepare the surface
Remove dust, loose particles and materials that could interfere with adhesion. Repair defects and create the required slope towards the floor drain. Waterproofing should not be used as a substitute for correcting major surface defects.
Step 3: Treat corners, joints and pipe openings
Wall-floor junctions, internal corners, drain connections and pipe penetrations are common weak points. Use compatible tapes, collars, sealants or other detailing components specified by the waterproofing system.
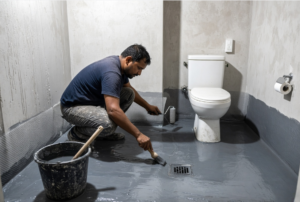
Step 4: Apply the waterproofing system
Depending on the project, the system may use a cementitious coating, a suitable liquid-applied membrane or another compatible product. Application thickness, number of coats, coverage and reinforcement should follow the manufacturer’s instructions.
A coating that appears dry on the surface may not have achieved the required thickness or curing.
Step 5: Allow the system to cure
Follow the specified curing and drying time before conducting tests or proceeding with tiling. Rushing this stage can compromise performance.
Step 6: Conduct a waterproofing test
Where appropriate, perform a controlled ponding or flood test after the system has cured and before covering it with tiles. The duration, water depth and acceptance criteria should follow the product instructions and project specifications. Check adjoining spaces and the ceiling below for signs of leakage.
Step 7: Install tiles carefully
Use compatible tile adhesives and installation materials. Avoid damaging the waterproofing layer during tiling. Follow the system manufacturer’s requirements for protection, adhesives, movement joints and final sealing.
4. How Is a Bathroom Waterproofing Test Done?
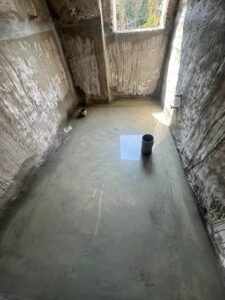
A ponding test is commonly used for suitable bathroom floors. After the waterproofing layer has cured, the drain is temporarily sealed where appropriate and a controlled amount of water is retained over the test area.
The responsible professional checks for leakage or moisture on the underside and in adjoining areas. The test should be supervised, and the slab and surrounding construction must be suitable for the test conditions.
Important: A successful ponding test helps assess the waterproofing layer, but it does not guarantee that future plumbing joints, sanitary fittings, grout or silicone seals will never leak. Plumbing should be tested separately where required.
5. Common Bathroom Waterproofing Mistakes
Applying waterproofing over a poorly prepared surface
Dust, loose plaster, cracks and unsuitable substrates can affect adhesion and system performance.
Skipping corners and pipe penetrations
A broad, coated surface can still leak through poorly treated junctions and openings.
Ignoring floor slope
Standing water can increase the risk of problems at joints and poorly detailed areas. Ensure the finished floor drains as intended.
Tiling before the system is ready
Insufficient curing or skipping required testing can conceal defects beneath the finished tiles.
Assuming grout is waterproofing
Grout fills tile joints, but it should not be treated as a replacement for a properly designed waterproofing layer.
Using incompatible products
Membranes, adhesives, tapes and sealants should be compatible as part of the specified system.
6. How Much Does Bathroom Waterproofing Cost in Pune?
The cost depends on the bathroom area, substrate condition, waterproofing product, extent of wall coverage, plumbing repairs and whether old tiles must be removed.
For preliminary budgeting, some projects may fall around ₹40–₹120 per sq. ft. for the waterproofing work itself, but this is an indicative range rather than a verified current quotation. Demolition, screed repairs, tile adhesive, tiles, plumbing and finishing may be charged separately.
Ask the contractor to clarify:
- The areas being waterproofed.
- The product and application method.
- Surface preparation and crack treatment.
- Number of coats and curing requirements.
- Testing arrangements.
- Tile removal and reinstatement, if required.
- Warranty coverage and exclusions.
7. What If the Bathroom Is Already Tiled and Leaking?
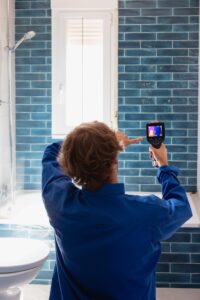
If a completed bathroom develops leakage, avoid immediately applying a surface coating without investigating the cause. The source could be a plumbing connection, drain, failed waterproofing, damaged joint or leakage from another nearby area.
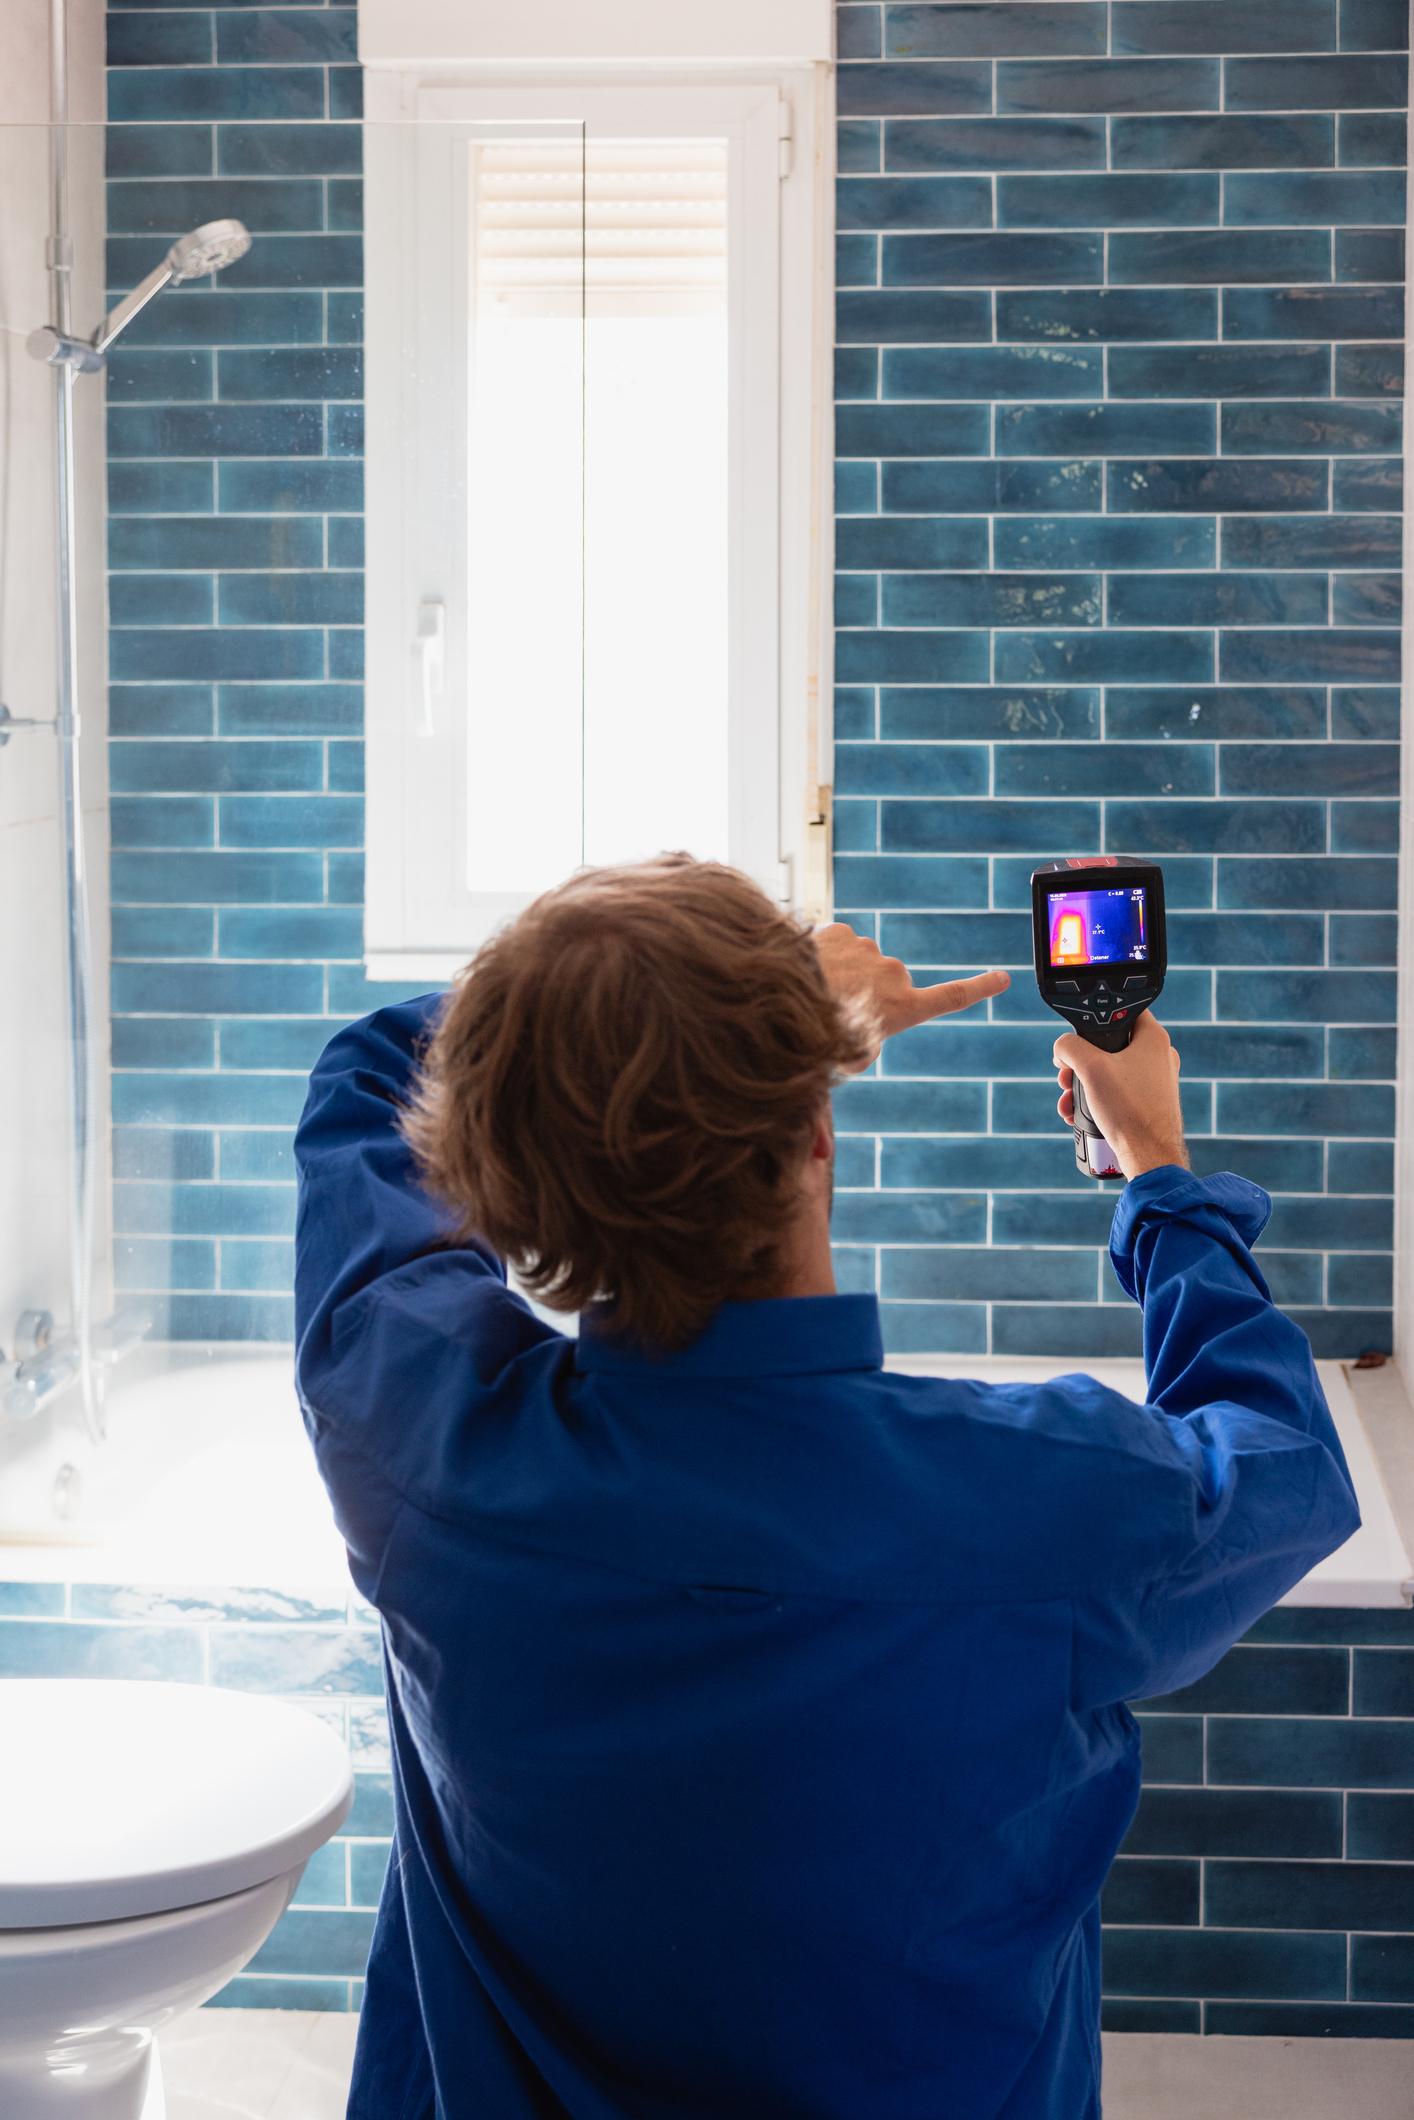
A trained professional may use visual inspection, moisture measurements, thermal imaging and plumbing tests to narrow down the likely source. Thermal imaging can identify temperature patterns that may indicate moisture, but it cannot always pinpoint the exact leak on its own.
This investigation can help determine where opening the finished surface may be necessary, although avoiding tile removal cannot be guaranteed.
8. How Design Within Can Help
At Design Within, careful renovation planning helps coordinate waterproofing with plumbing, tiling, sanitaryware and bathroom finishes. Planning these activities in the correct sequence can help reduce avoidable rework and make it easier to inspect critical stages before they are concealed.
If you are renovating a bathroom in Pune, ensure waterproofing is included in the scope of work—not treated as an optional finishing step.
Planning a bathroom renovation? Visit Design Within to explore interior-design and renovation support for your home.
At Design Within, we believe a beautiful interior should not only look good when it is completed — it should also perform well for years.
Before we dive into more details about designing your furniture, it might be helpful to estimate how much your interior design project could cost. Understanding your budget can help you make more informed decisions about what features to prioritize. To get a better idea, you can use our ‘interior design budget calculator’ budget calculator and start planning your dream home today.
Frequently Asked Questions
1. Is bathroom waterproofing necessary before tiling?
Yes, suitable waterproofing is an important part of protecting the bathroom structure from water penetration. Tiles and grout alone should not be relied on as the waterproofing system.
2. How long should bathroom waterproofing cure before tiling?
It depends on the product, number of coats, temperature, humidity and substrate. Follow the manufacturer’s specified curing and testing requirements rather than relying on a universal time.
3. How long should a bathroom ponding test last?
The test duration depends on the product instructions, project specification and applicable requirements. Agree on the test procedure and acceptance criteria with the contractor before work begins.
4. Can waterproofing be done without removing existing bathroom tiles?
Some surface treatments may be possible in specific circumstances, but they are not a universal solution. The appropriate repair depends on the leakage source, existing waterproofing, tile condition and compatibility of the proposed system.
5. Does waterproofing stop leakage from plumbing pipes?
No. Waterproofing protects suitable surfaces and junctions, but leaking supply pipes, waste pipes and plumbing connections must be diagnosed and repaired separately.
6. What is the difference between waterproofing and tile grouting?
Waterproofing creates a protective barrier beneath or behind the finish. Grout fills the joints between tiles. Grout should not replace a properly installed waterproofing system.
7. Should bathroom walls also be waterproofed?
Wet areas such as shower walls generally require appropriate waterproofing coverage. The required height and extent depend on water exposure, design and the chosen system.
Final Thoughts
Bathroom waterproofing should be completed, cured and tested at the appropriate stage before tiles conceal the work. Correct surface preparation, careful treatment of junctions and pipe openings, and compatible installation materials all contribute to a reliable result.
Whether you are building a new bathroom or renovating an existing one, planning waterproofing properly can help reduce the risk of hidden leakage and expensive future repairs.